How To Generate A Scene In Novel Mage And Maintain Continuity

To generate a scene in Novel Mage
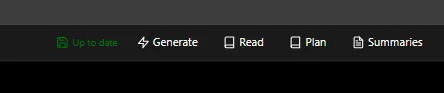
You first have to open the editor/writing window then go to Generate from the above tool bar or just press / (forward slash) while writing and select Generate
There you will find an option called ‘Generate Scene’ or you can just type it in the search bar…….just a side note Scene is a part of a Chapter and a Chapter is a part of an Act (Act->Chapter->Scene)
Once you click on Generate Scene a similar window like this will open up

From here you can select the model or set a default model from the top left side of the main writing window/editor….so far so good?
Now comes the crucial part of maintaining continuity and context for this we have a couple options to play around with
Firstly, you have the option of including your novel summary of what you’ve written so far, for better context management.
Next we have a unique feature of ‘tagging’ just like we tag our friends on Instagram you can tag Scenes ,Chapter , Acts or even Characters from the codex in your prompt just by adding ‘@’ like we do on any social media app , as shown in the image below
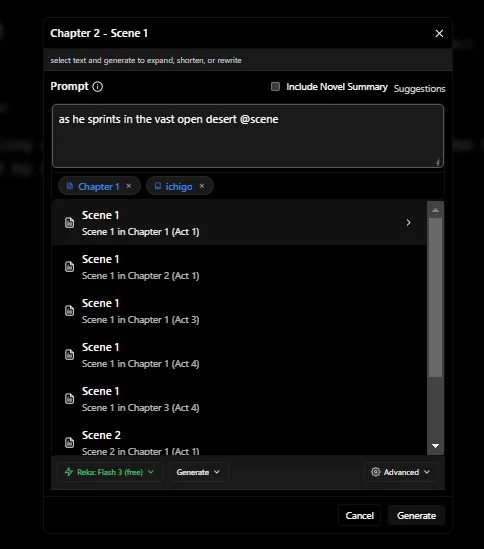
When you tag specific scenes ,chapter and acts the AI pulls the summary of the same generating a scene with better context ,overall flow and continuity of the novel.
And that’s how Novel Mage’s powerful tagging and summary features let you effortlessly craft context-rich scenes that flow naturally and keep your novel’s continuity intact.