Understanding The Codex

Codex Overview
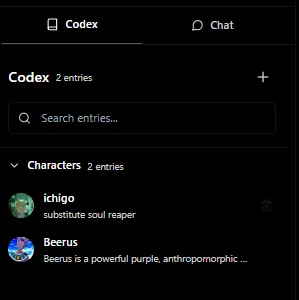
Codex is a very powerful tool only if you understand it and use it to its full potential. Think of it as your companion who keeps track and knows every detail about your story’s character, location, object, lore, etc.
Locating the Codex
You will find the codex on the left side of your tab. You can toggle it with the button provided in the upper top left side of the window.
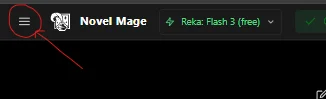
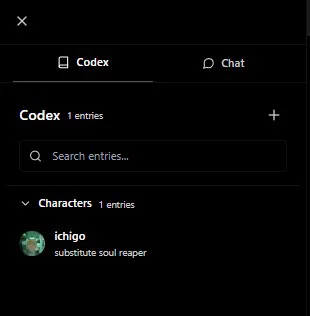
After clicking on the three lines, the codex should open up:
Creating a New Codex Entry
-
Start a New Entry:
Click on the plus (+) button. A new entry window will open, similar to the image below: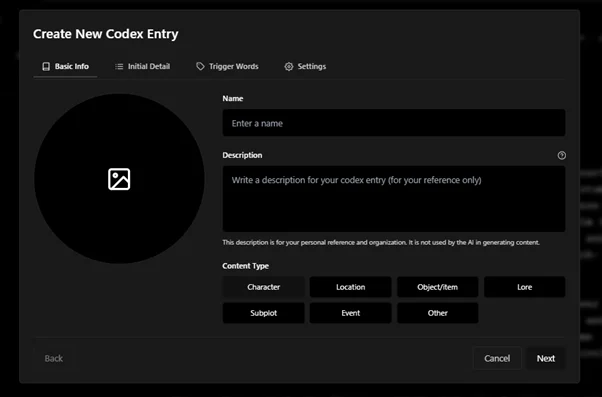
-
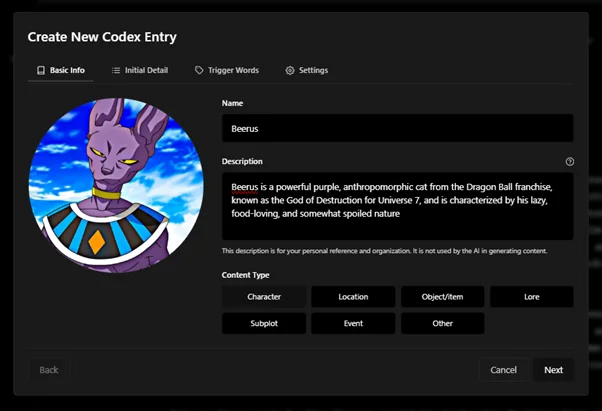
Fill in the Details:
Here, you can fill in the details for your character, object, lore, etc.- Content Type: Assign a content type to separate entries by categories for better management.
- Description: Note that the ‘Description’ field is for your understanding only; any content here will not be referenced by the AI. The AI pulls information from the ‘Initial Detail’ tab (explained next).
After filling out the basic info, your entry should look something like this:
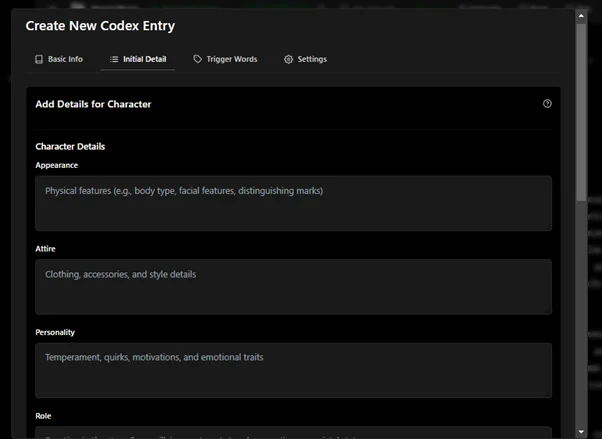
Initial Details
This section varies depending on the selected content type. For example:
- If you select Location, there won’t be a section for attire.
- For a character (e.g., Beerus), additional sections like attire may be present.
Fill out the entire section with details such as character likes, needs, and other relevant attributes. Important: This is the section from which the AI will pull character information, so be cautious about what you include.
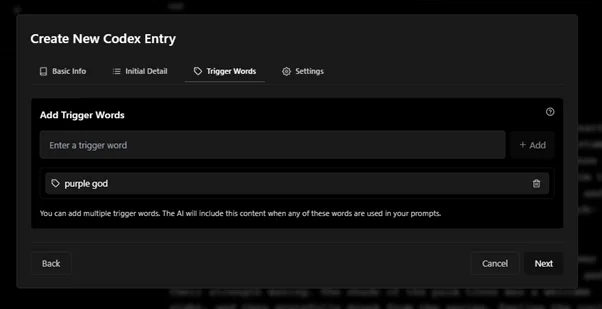
Trigger Words
Trigger Words activate the character content when you mention specific words in your prompts. For instance, using “purple god” will trigger the associated content.
- How to Add Trigger Words:
Write the desired words in the text box and click Add.
You can add multiple trigger words for a single entity.
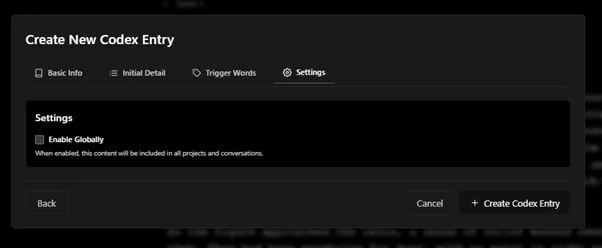
Enabling the Entity Globally
To have the entity’s context available throughout your projects, enable it globally:
- Click on Enable Globally in the settings.
Final Appearance
Once all steps are complete, your codex entry will appear like this: